
Have you ever bookmarked a website hoping you’d revisit it at a later date — only to find out the link is no longer working?
Or perhaps, you clicked on a link and you’re hit with the annoying 404 error page?
Yes, that’s what happens when the URL of a website changes. This occurs for several reasons but the general idea is — the link is broken.
For instance, you moved your website from the URL www.mywebsite.com to www.mynewwesbite.com.
Traffic coming to your domain wouldn’t be able to access your website using the old URL and it’ll hurt your SEO efforts.
To fix this, you’d need to create a 301 redirect that moves the incoming traffic to another destination. In this short guide, we’ll walk you through three methods of creating 301 redirects and how they can be beneficial for your entire business.
What is a redirect in WordPress?
A redirect in WordPress is a method of automatically sending your website traffic to a new web page address when it’s been moved, changed, or deleted.
For example:
Moving from → old address https://www.website.com to → new address https://www.mywebsite.com
With a redirect, search engine crawlers can easily index your new website by following the path of the old one. This way, you won’t lose traffic — and it’ll be like nothing changed.
Meanwhile, without a redirect, users will see a broken page — in this case, a 404 error page when they visit the old address.
[Source: Traqq]
💡Side Tip → Avoid having any 404 “page not found” error on your website. Asides being a bad practice, it can hurt your rankings, reputation, traffic, and overall user experience.
Related → How Google Crawls Your Website and Indexes Your Pages [Guide]
Amongst the many types of redirect, 301 and 302 are the two most common ones. While this post only covers 301 redirects, we’ll also shed some light on 302 redirects.
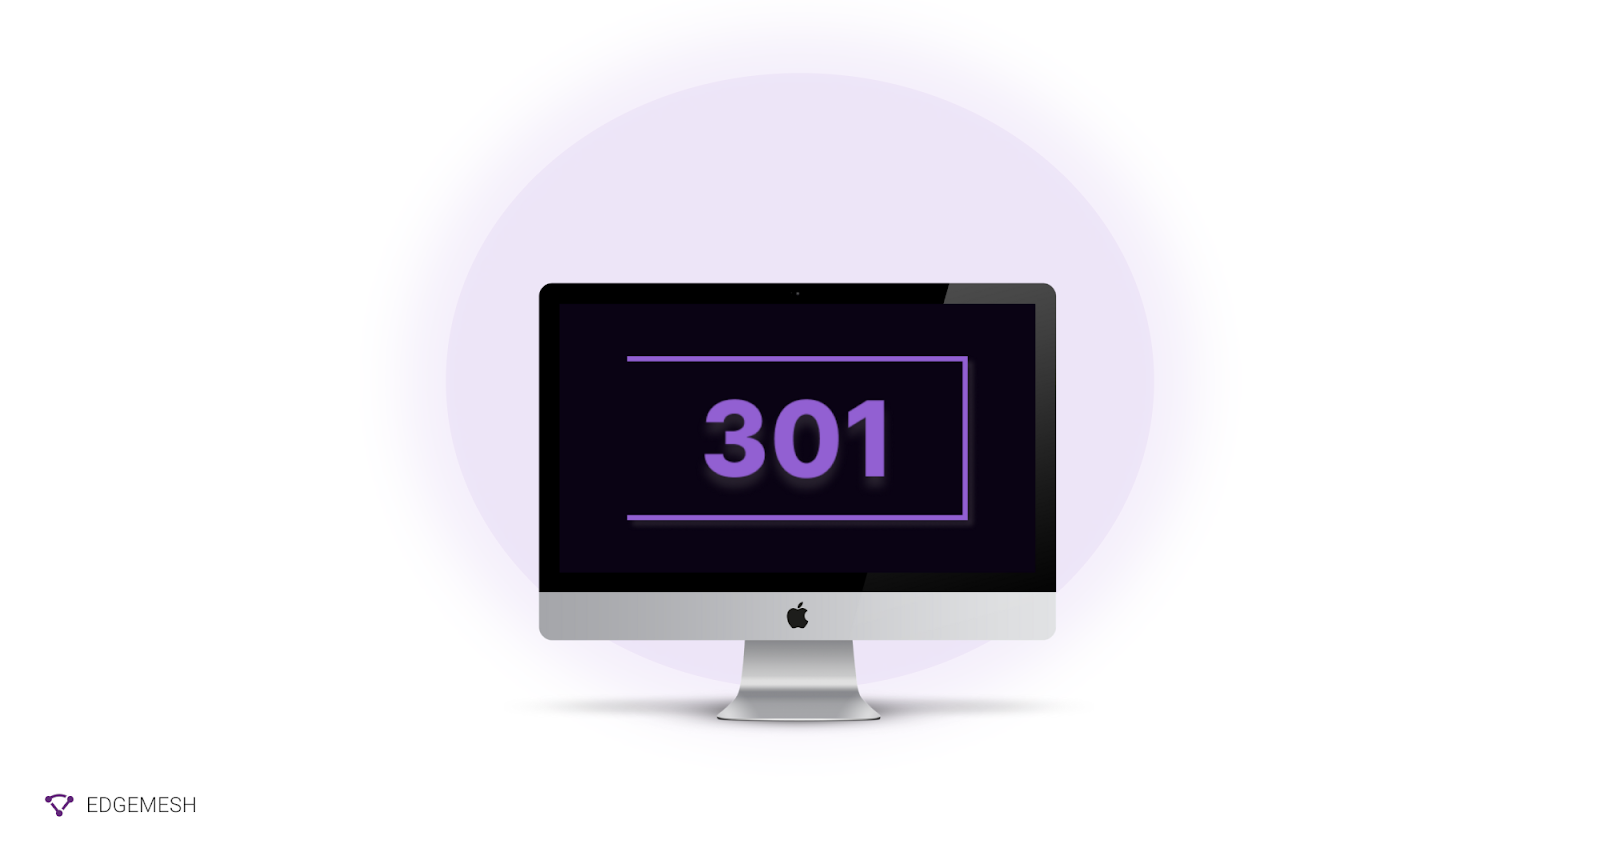
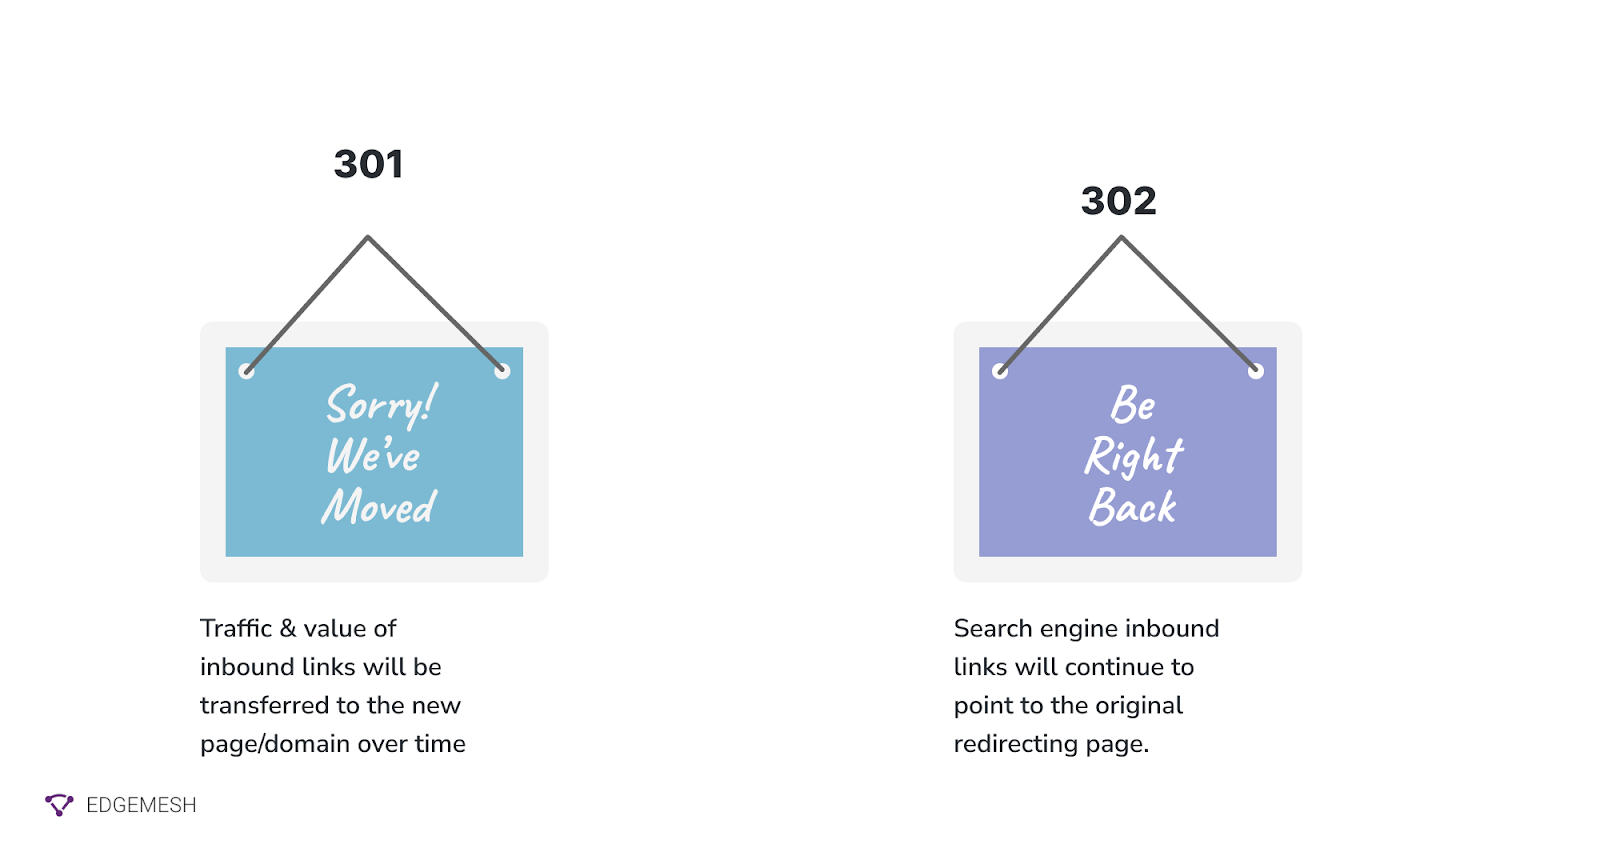
What is a 301 redirect?
A 301 redirect is the permanent forwarding of a web page from one address to another. The “301” serves as an HTTP status code that tells search engines that the web page has been permanently moved.

For example:
https://www.blog.edgemesh.com redirects to https://www.edgemesh.com/blog
So, anytime you visit the old Edgemesh’s blog URL, you’ll be redirected to this new one. Also, you can call the 301 redirect a permanent redirect.
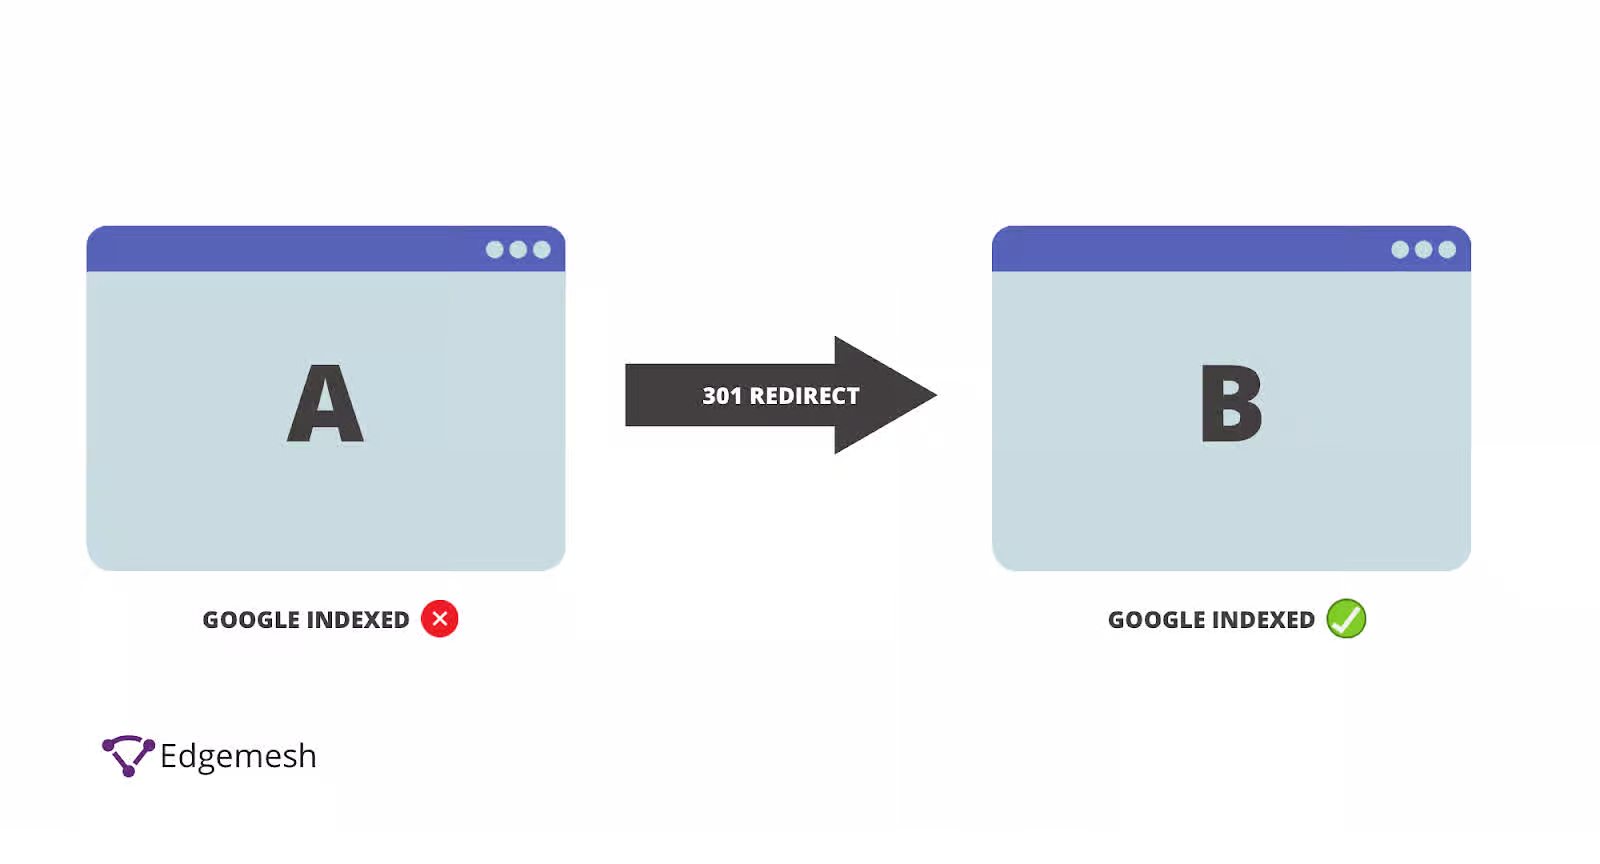
Now, when a search engine sees a 301 redirect, it transfers the link equity (or link juice) to the new URL. This includes rankings, traffic, and the whole search experience.
Related → How To Get Indexed By Google [7 Ways]
What about 302 redirects?
A 302 redirect is temporary forwarding of a web page from one URL to another. This is a temporary redirect that’s mostly used when your site is undergoing some changes or development.
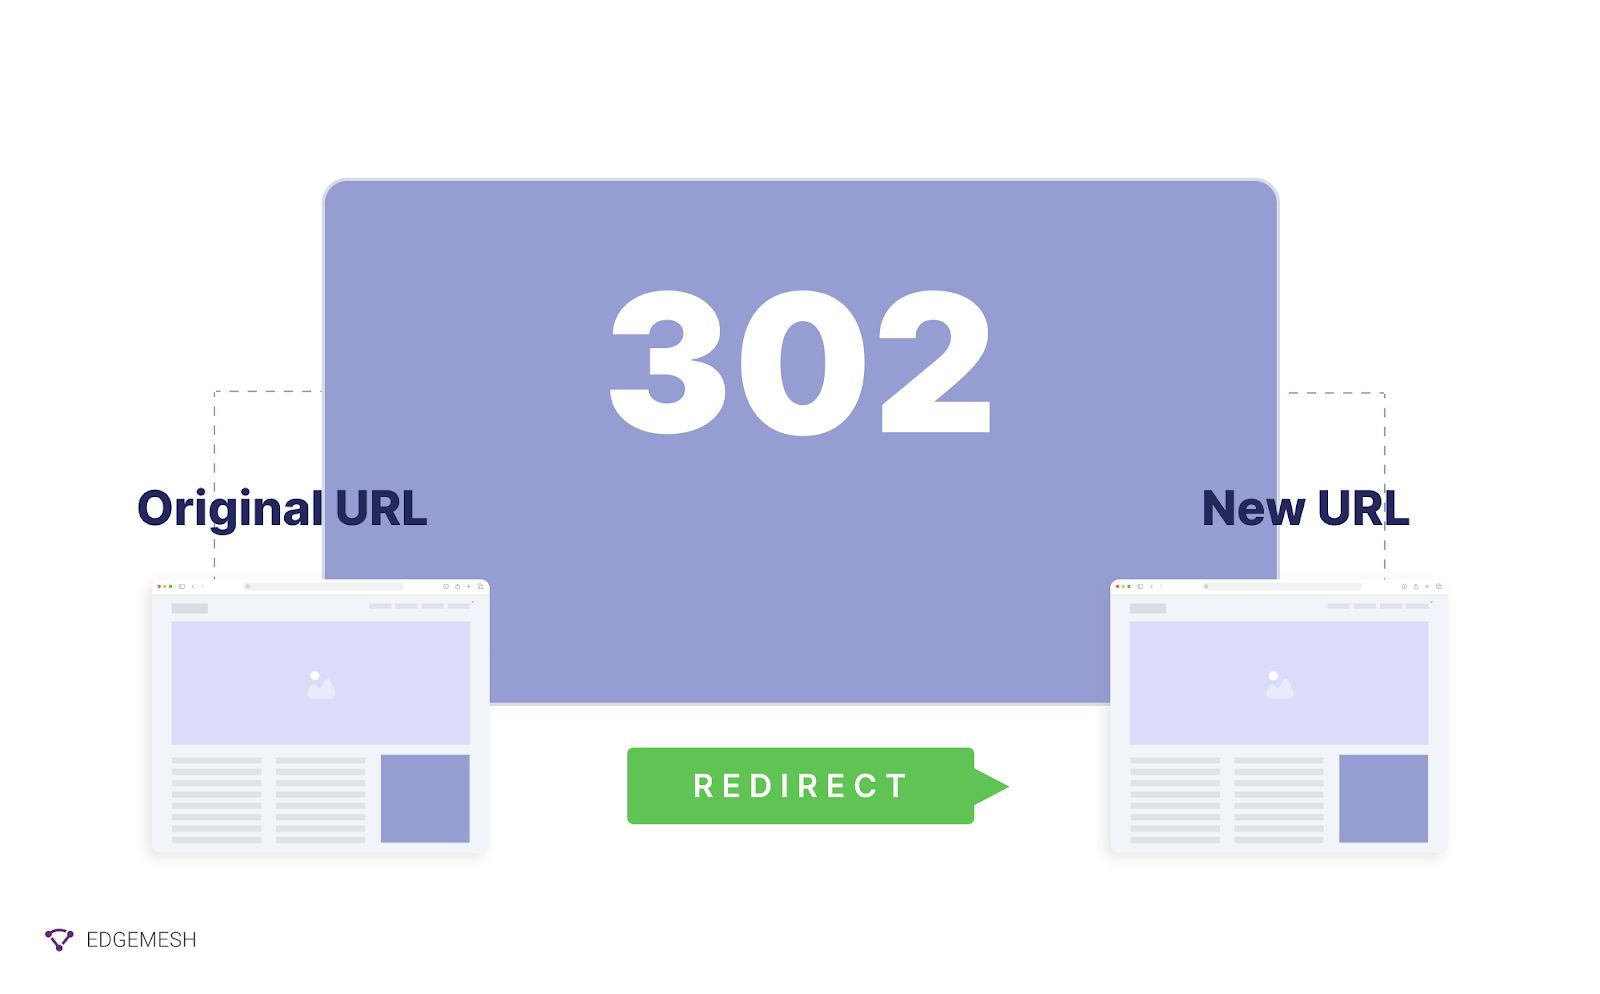
The “302” HTTP status code here tells the search engine to continue indexing the original link. With a 302 redirect, you can preserve the search engine rankings and traffic of the initial page. Therefore preventing search engines from transferring link equity to the temporary URL.
Related → What Is Page Speed [+Why It’s Important for SEO]
What’s the difference between 301 and 302 redirects?
A 301 redirect indicates that a web page has moved permanently to a new location, while a 302 redirect indicates that the page has temporarily moved.
How to create 301 redirects in WordPress
There are three different methods you can use to create 301 redirects for your website on WordPress.
Method 1: Using .htaccess to create 301 redirects
The .htaccess stands for “hypertext access” — and it’s a configuration file that controls the root directory of your website e.g, redirects, server authentication and more.
To access your .htaccess, you’ll need to connect to your website server— and you can do this in two ways:
- Log in via FTP or use the file manager in your cPanel (via your hosting provider).
- To log in to you web server using FTP, you’ll need the following credentials:
- FTP server address
- FTP username
- FTP password
- FTP hostname and port
You can access any of this information by checking:
cPanel → Files →FTP accounts.
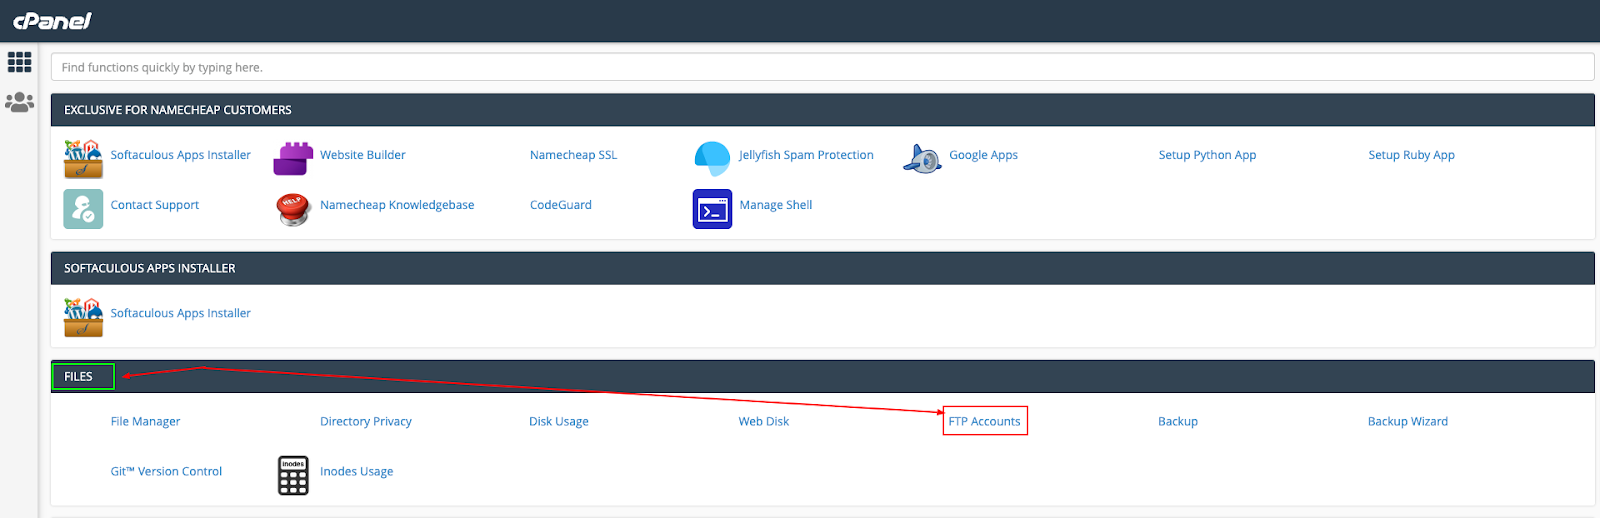
- Click on ‘FTP Accounts’ to get all your credentials.
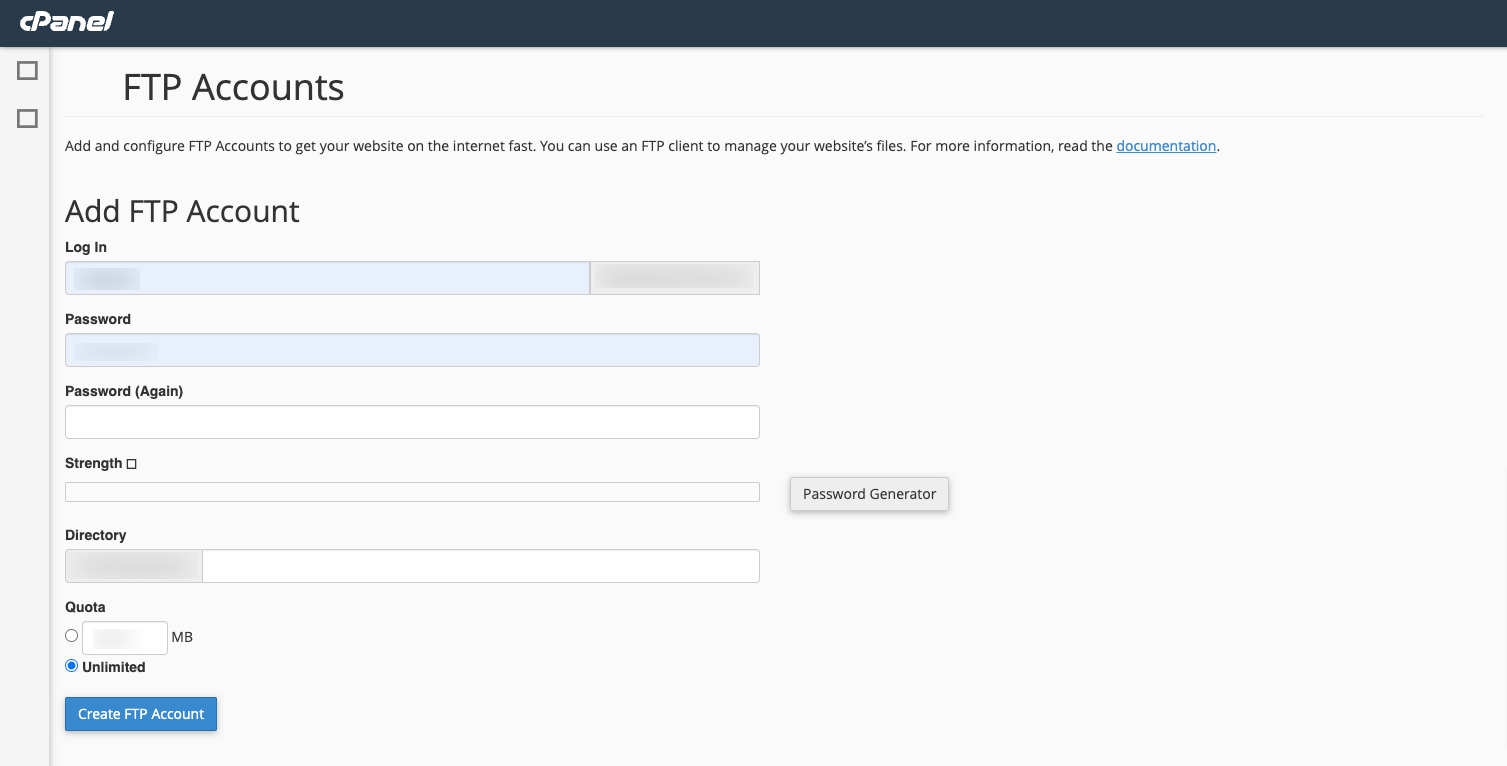
- Once you have this information, download an FTP client to connect to the web server. We recommend using FileZilla as it has a more friendly and easy-to-use interface.
- Next, open your FTP client and enter your details in the appropriate fields and click on ‘Quick connect.’
- Then navigate to the ‘public_html’ folder and find your .htaccess directory.
- Right-click and download a copy of the .htaccess to your computer.
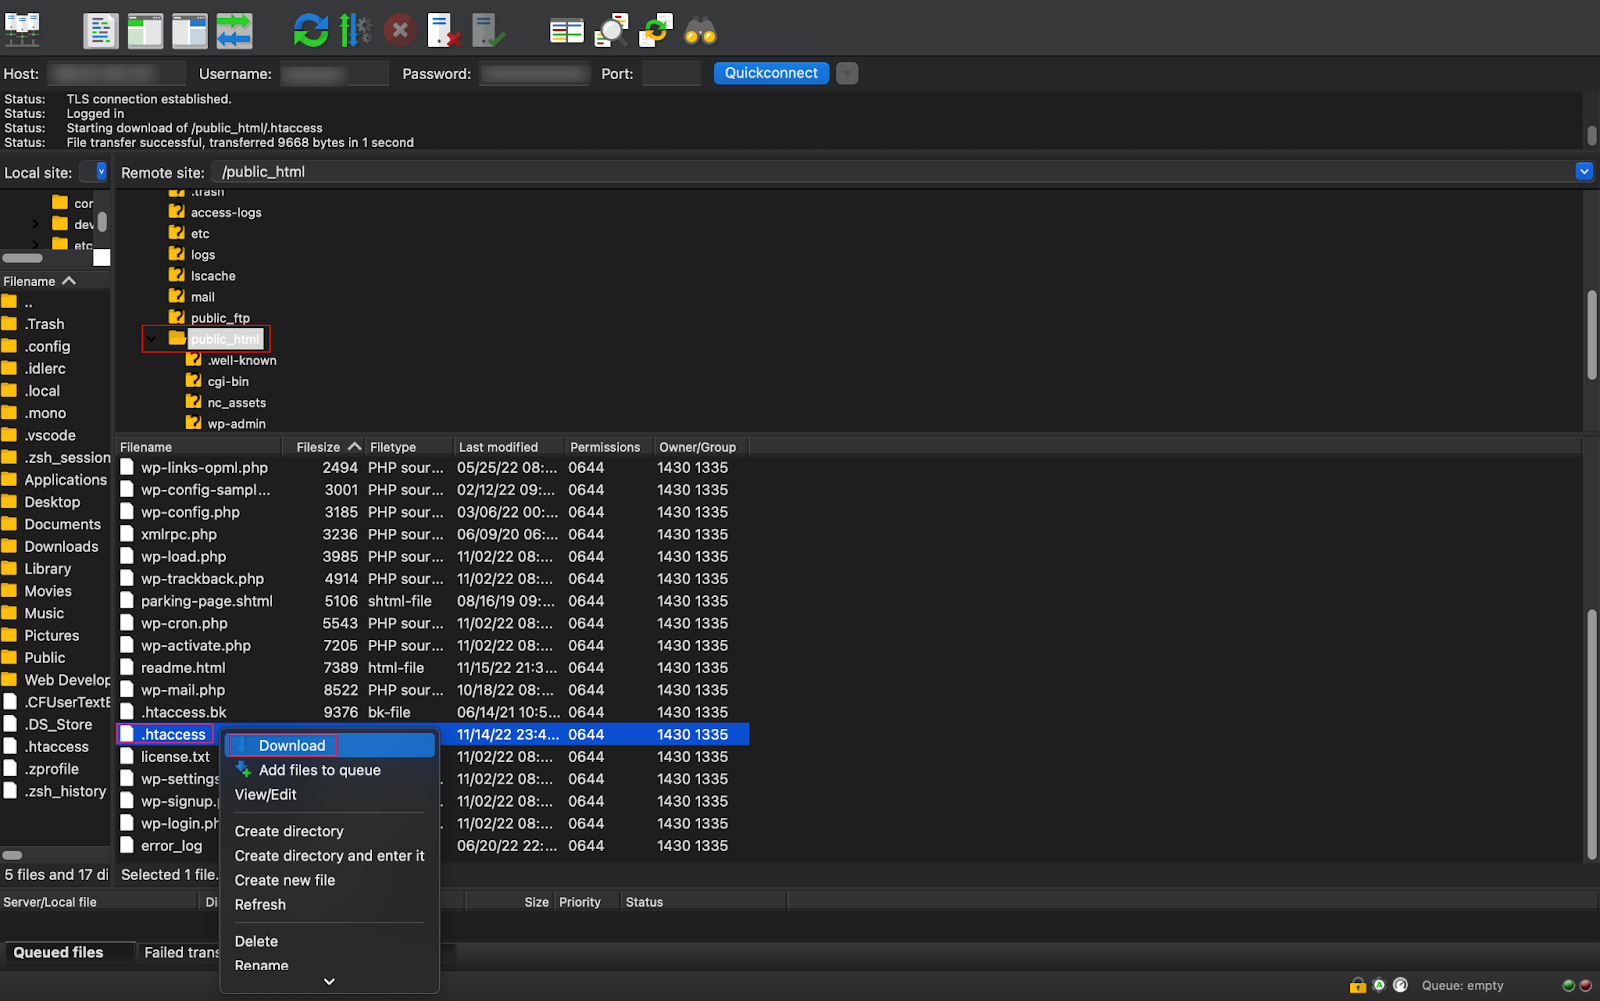
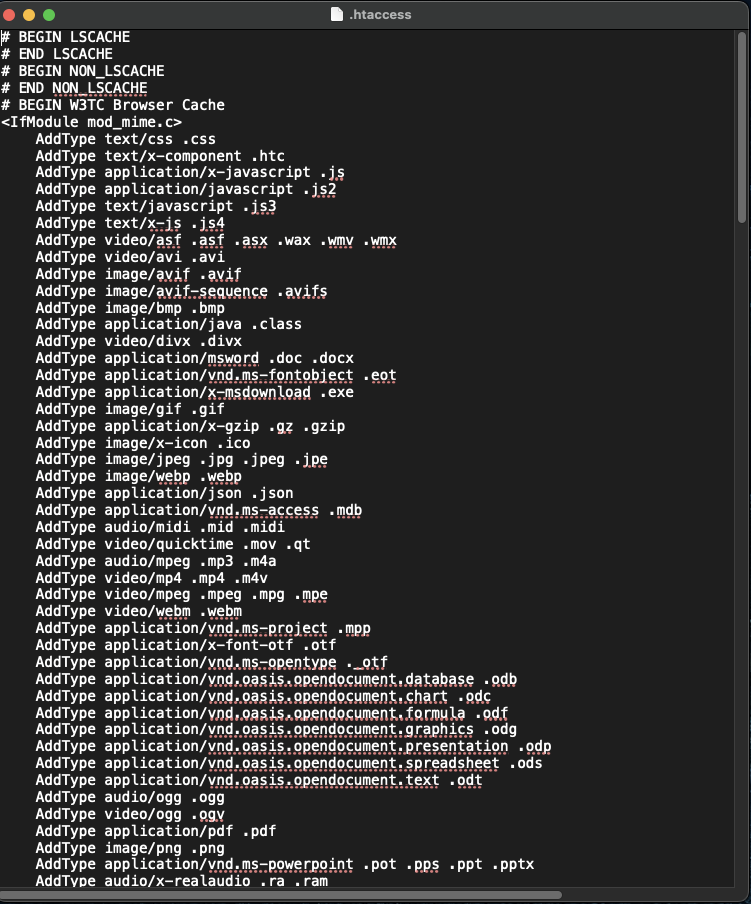
- Once you open the .htaccess file, you’ll see something like this:
- Now, all you have to do is edit the top of the code to redirect to your new URL. Let’s say you want to redirect your old website to a new one, simply add the code below to the last part of the code above.
RewriteCond %{HTTP_HOST} ^oldwebsite\.com$ [OR]
RewriteCond %{HTTP_HOST} ^www\.oldwebsite\.com$
RewriteRule ^/?$ "http\:\/\/newwebsite\.com\/" [R=301,L]
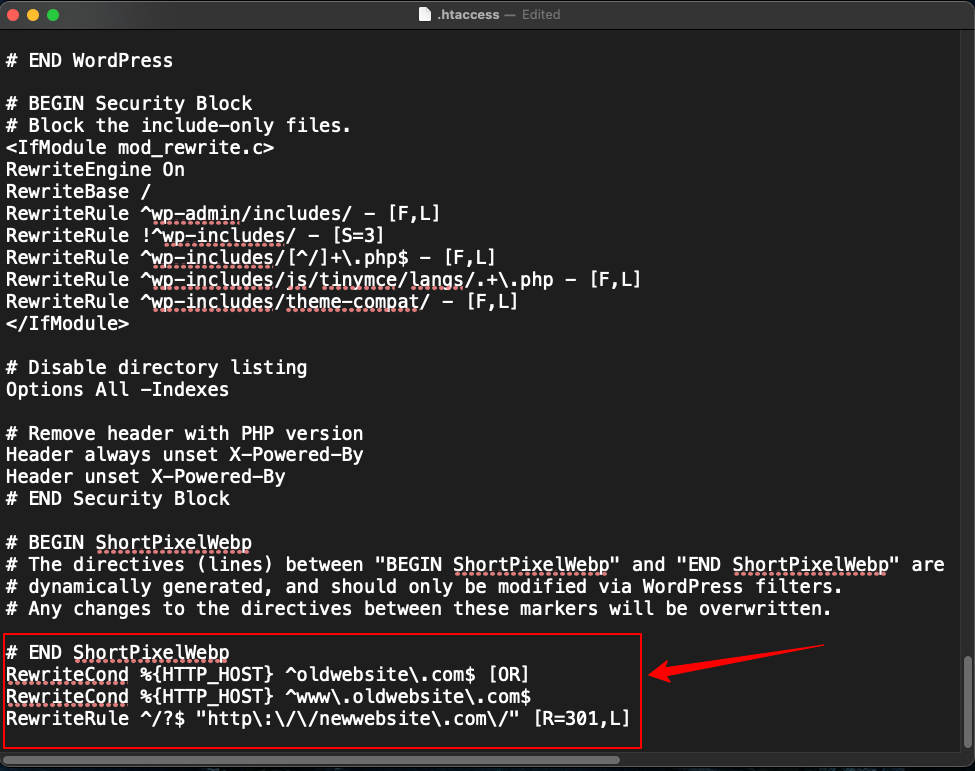
- Save the changes and upload it back to the server using the FTP client.
- Test your redirects by visiting the old URL to see if it redirects to the new one.
💡Note → When you implement a 301 redirect, your old website URL will become inaccessible. So, ensure you backup all necessary files, and test the new URL in a test environment before going live.
Method 2: Using your NGINX configuration file to create 301 redirects
Some hosting providers might not allow you to edit your .htaccess file in order to prevent breaking your website. In this case, editing your NGINX .conf file is your next option.
To do this, you’ll use the ‘rewrite’ directive to implement the redirect:
rewrite ^(.*)$ http://www.yournewwebsite.com/$1 permanent
In case you want to match URLs you want to redirect, use this:
rewrite ^/old-page.html$ /new-page.html permanent;
Also, you can use the ‘return’ syntax for implementing a 301 redirect:
return 301 http://www.yournewwebsite.com/$request_url;
Method 3: Using WordPress plugins to create 301 redirects
This is by far the easiest way to create 301 redirects.
If you don’t want to go through the trouble of tampering with your website code or hiring a developer, installing WordPress plugins is your best bet.
The most popular option with more than 1 million active installations for managing your redirects is with the “Redirection Plugin.”

Simply install the plugin and include your source and target URL. And in minutes, your new domain is up and ready.
Another alternative to try out is the popular Yoast SEO plugin. Being an SEO tool, Yoast has an in-built redirection feature that makes it easier to implement all types of redirects — including 301 redirects. However, for you to get this feature, you need to be on the Pro plan.
Meanwhile, if Yoast is too expensive for you, try out Rankmath. Basically the same, but cheaper with richer SEO features.
Related → 10 Website Optimization and Performance Tips
When should you use a 301 redirect?
When you get or merge another website
No two URLs are ever the same. This is why it’s important to implement 301 redirects as soon as you change to a new URL or get a new one.
Let’s say your initial website URL is “https://mywebsite.com,“ and you recently bought another website “https://www.myothernewwebsite .com.” Whenever you decide to merge both websites, implement 301 redirect to ensure all your traffic and link equity remains the same.
Additionally, ensure the SSL certificates and DNS records of the new website are set up properly. This is to certify to users and search engines that the new website is safe and secure.
Related → How To Reduce DNS Lookups [5 Ways]
When you change your website’s URL structure
Your website URL structure guides users and search engines and helps them navigate better.
However, when this structure changes, users and search engines will encounter a 404 error page which will affect the page’s existing link equity.
For example, below is your website’s previous page structure:
https://www.blog.mywebsite.com/topic
Then, you decide to change it to this:
https://www.mywebsite.com/blog/topic
When you implement a 301 redirect, users and search engines will be redirected to the new URL, and your traffic along with the link equity will remain intact.
3. When you’re switching or removing old pages
This is mostly common with landing pages and A/B test campaigns.
Let’s say you’re running a campaign to track traffic coming from two different sources.
First landing page: https://www.website.com/landing-page/campaign1
Second landing page: https://www.website.com/landing-page/campaign2
Suppose the second landing page is successful, it’s expected you’ll delete the first landing page. However, if you do this, users will be hit with a 404 error (page not found).
Instead, what you’ll want to do is implement a 301 redirect on the first landing page to redirect to the second landing page. This same technique also applies to fixing broken links on your website.
Setup Bulk 301 Redirects with Edgemesh
A broken website hurts every part of your business; from traffic, bounce rate, session duration, down to sales. This is why implementing 301 redirects on your website should be a priority. Ensure you constantly verify the status of every link on your website to know if it actually works.
On the flip side, creating 301 redirects can be a hassle if you run a large website and need to do it at scale. In this case, Edgemesh’s bulk redirection solution is your go-to.
With Edgemesh, you can check for redirects and broken links on any part of your websites and also show you their status code. Additionally, you’ll see the redirect chain, which can help you identify possible redirect loops.


